Creating transparent texture in Photoshop
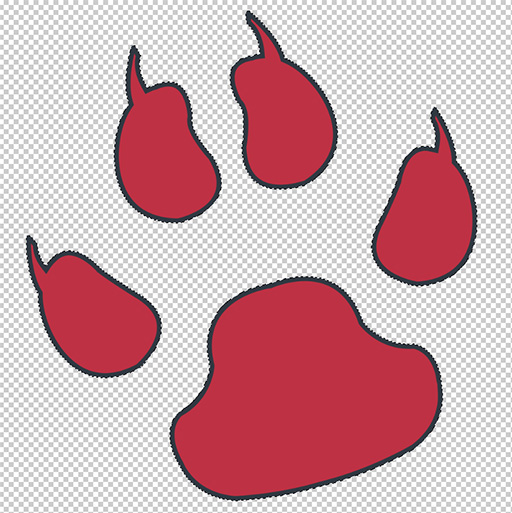
I’ve created this Paw texture by using Custom Shape Tool inside Photoshop. You can download this texture HERE, or just use/create your own texture image.
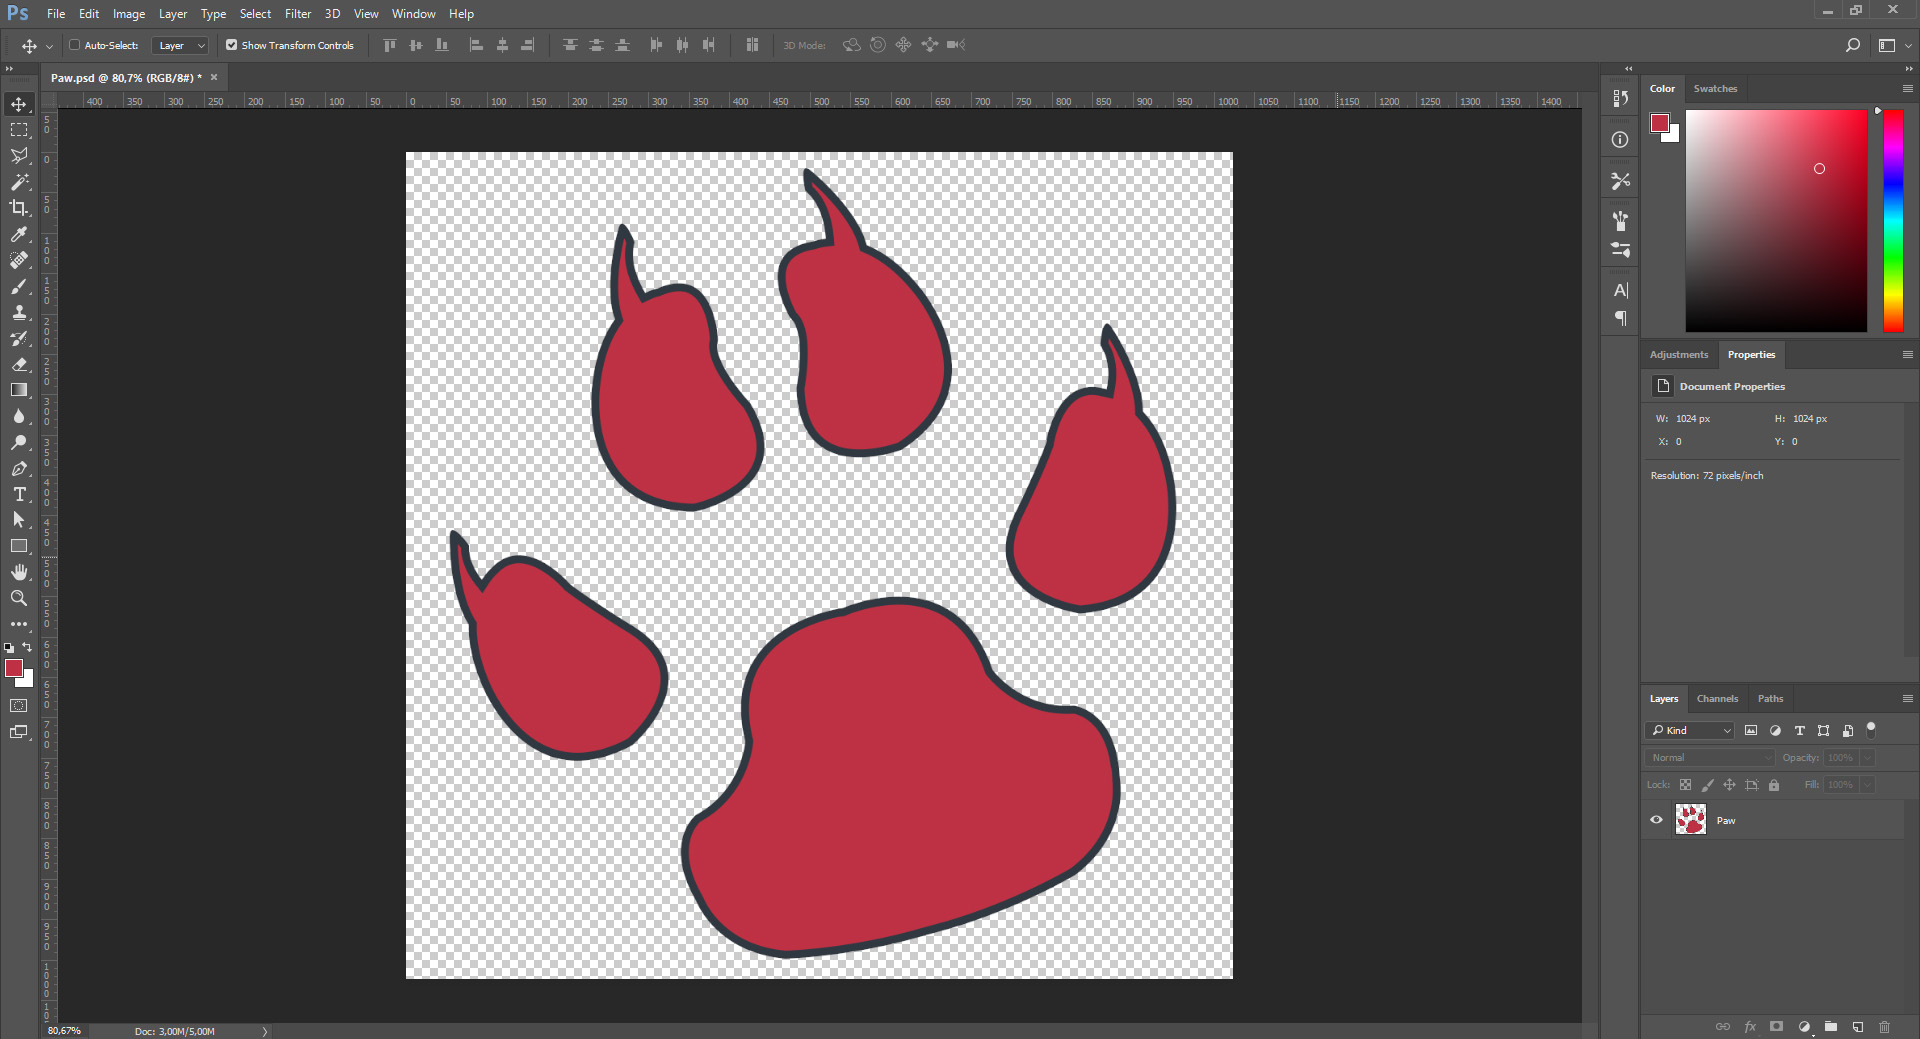
Let’s begin! By holding CTRL press LEFT MOUSE on the Layer Image Icon - to make Selection.
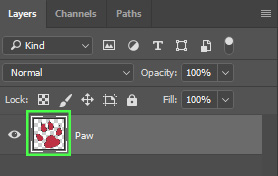
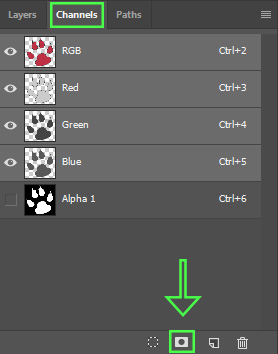
Now go to Channels tab and press on the Save selection as channel Icon – to create Alpha Channel from the selection. You will see that Alpha 1 has bee created.
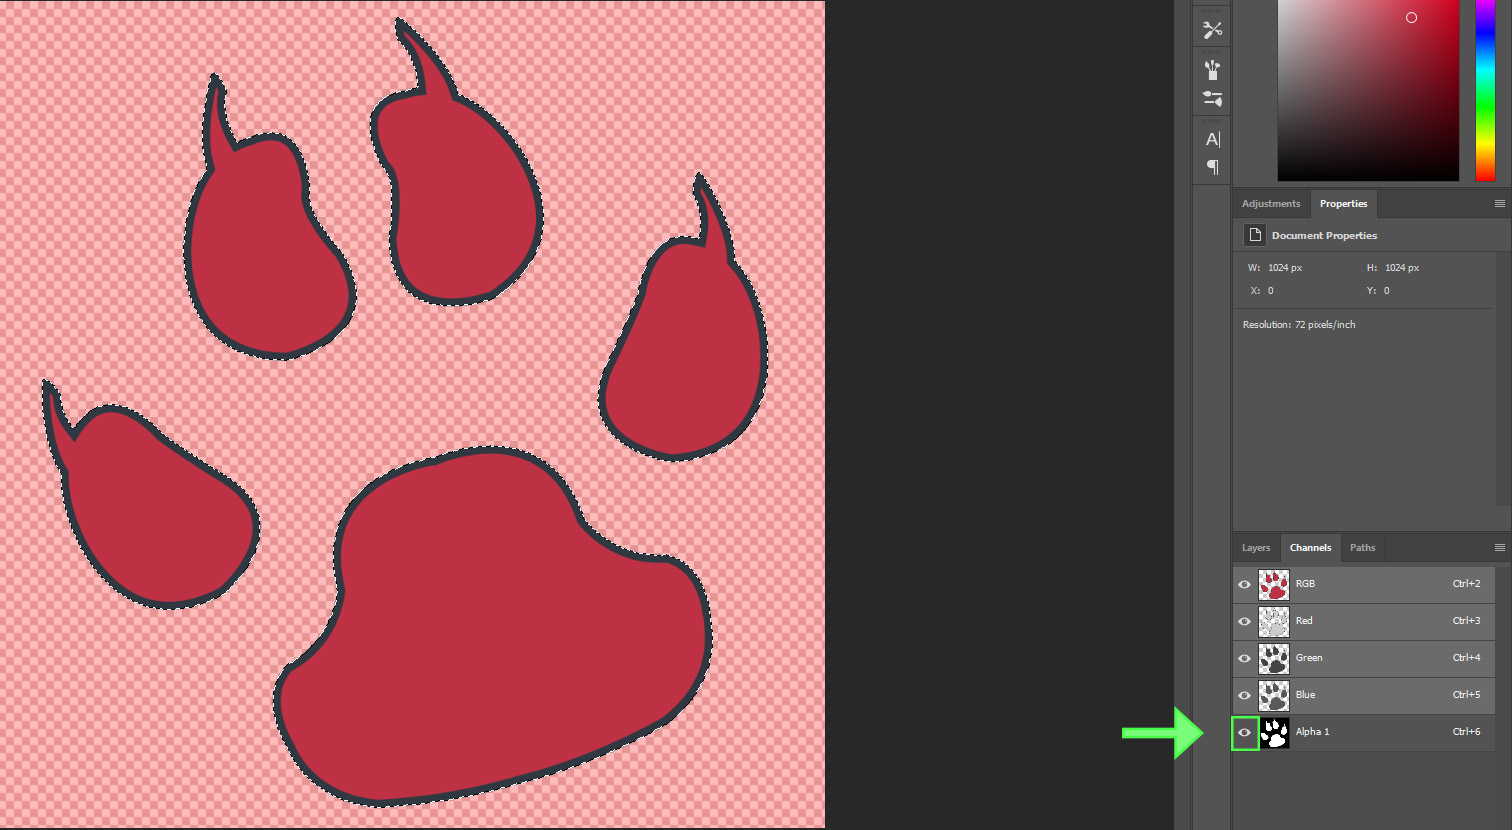
You can preview Alpha Channel by clicking on the Eye Icon.
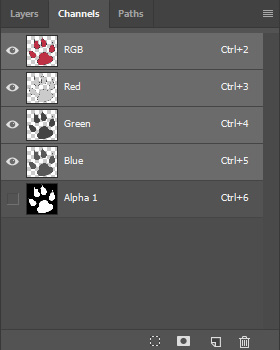
Let’s disable Eye Icon and leave it like that:
Now Press CTRL+D to Deselect our selection. Go back to Layers tab and create New Layer under our image layer (I called it BG).
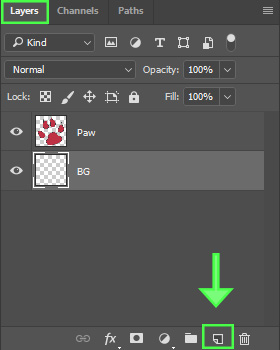
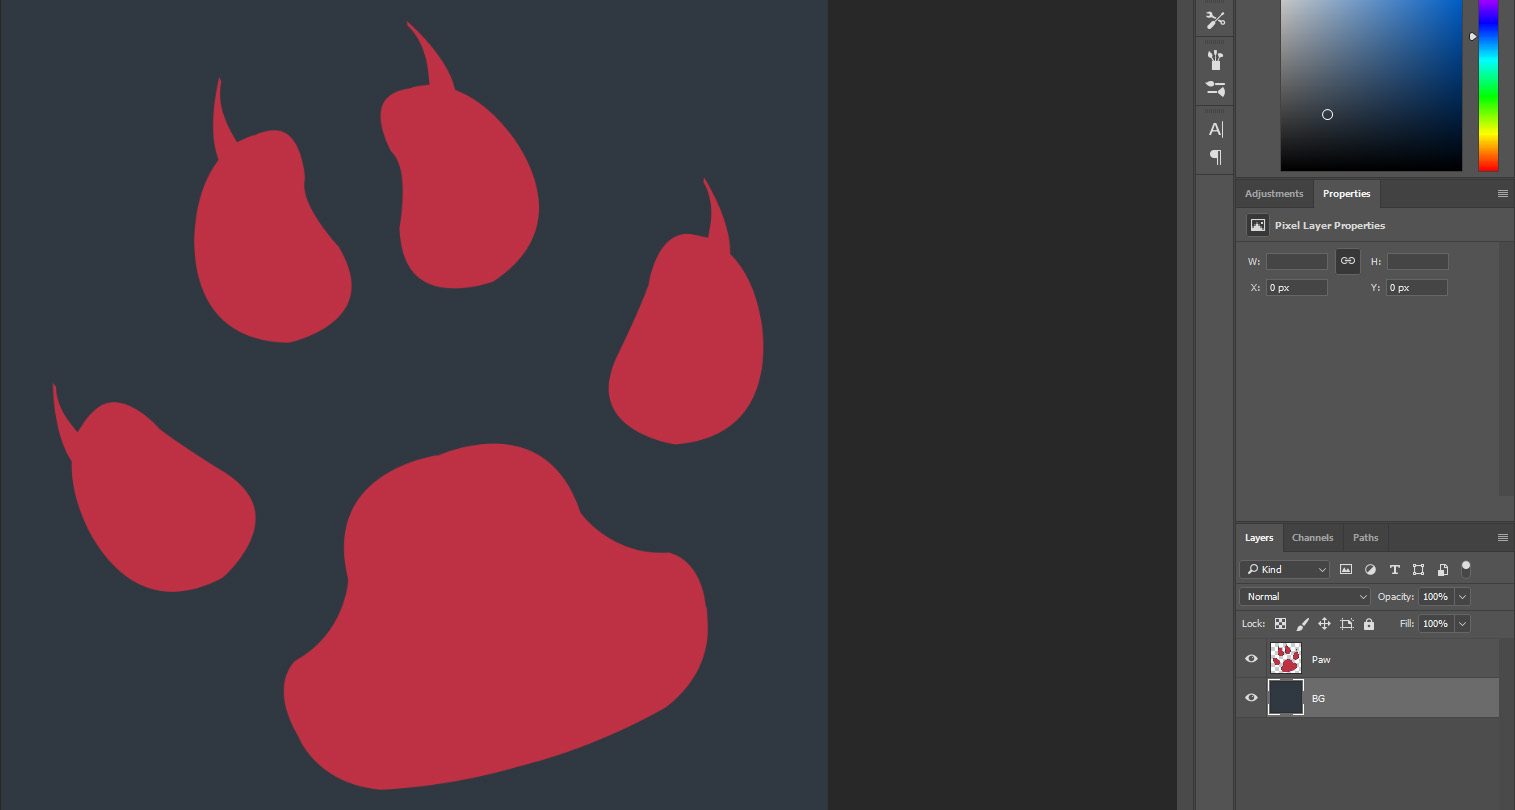
Fill BG layer with the same color as our image borders (in my case, image has dark blue boarders around). Select Paint Bucket Tool and by holding ALT pick a color of your image boarder and fill that color on the BG layer. If the image has a lot of different colors around the border, pick the middle color value.
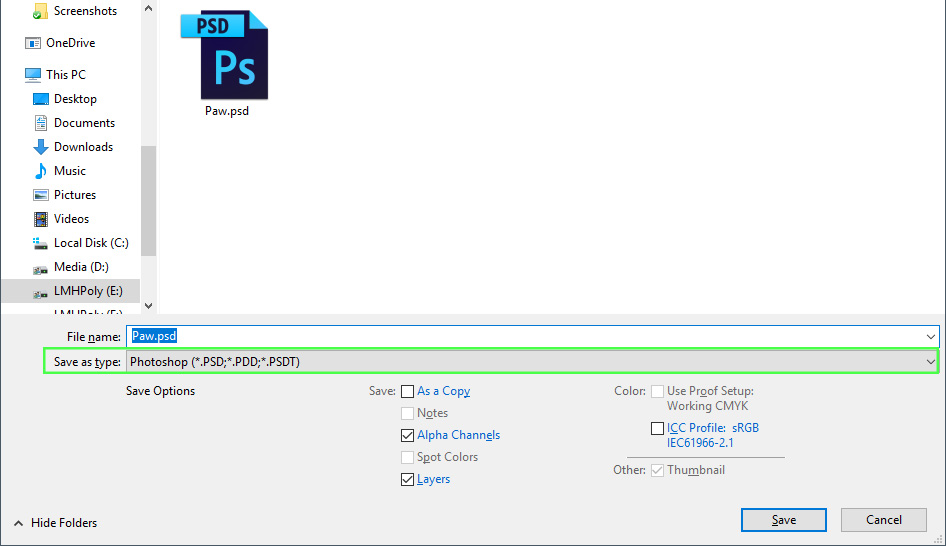
Go to File > Save As… and Save it as Photoshop .PSD file format. Now you have a Texture with Alpha Channel which will be used for Transparency inside Unity.
Applying transparent texture in Unity 2017.1
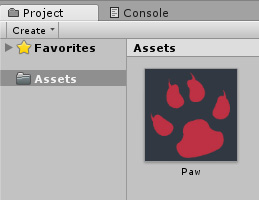
Import your Texture to Unity (Paw.psd).
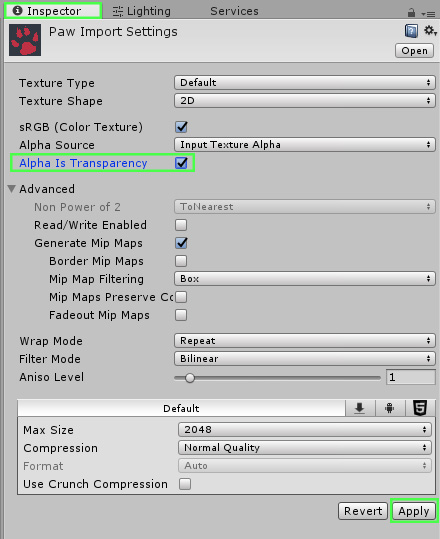
Select your Texture, inside Inspector tab, enable Alpha is Transparency and hit Apply (If the alpha channel you specify is Transparency, enable Alpha is Transparency to dilate the color and avoid filtering artifacts on the edges).
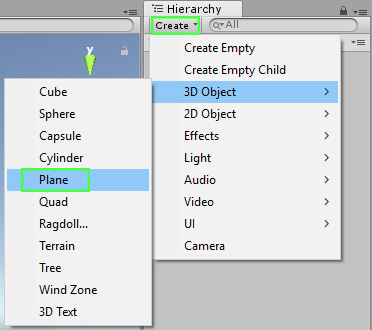
Now create a Plane to test your Texture – inside Hierarchy tab press Create, go to 3D Object > Plane.
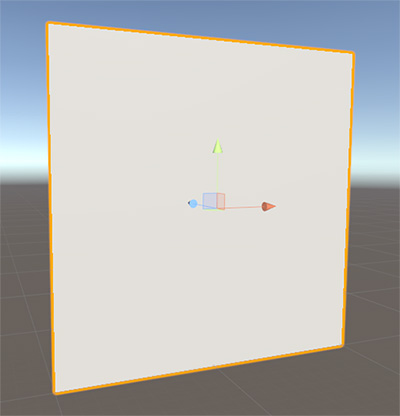
I had resized and rotated my Plane object a bit:
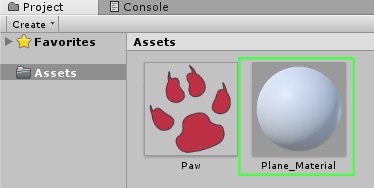
Create new Material - press RIGHT MOUSE inside a Project tab, and go to Create > Material. I had renamed my Material to “Plane_Material”.
Apply new Material (Plane_Material) to the Plane GameObject by draging and droping Material on the Plane. Click on the Material (Plane_Material) and make sure that inside Inspector tab Shader is set to Standard or Standard (Specular Setup).
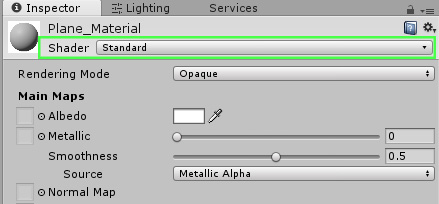
Now press on the little Circle Icon and apply your Texture (Paw.png).

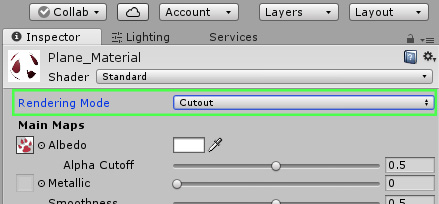
To see the Alpha Channel as Transparent, set Rendering Mode to Cutout.
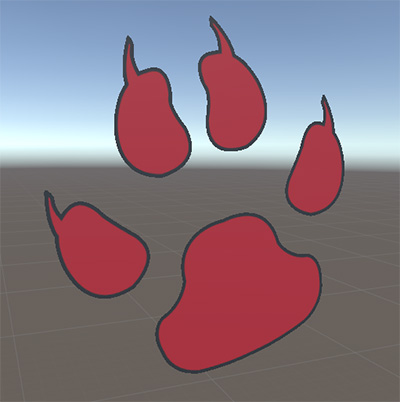
Your Plane with Transparent Texture applied should look like this:
Read more about Rendering Modes, to see which mode is the best for you!
Use other transparent shaders
You can also use any other Transparent Shader. For example select Legacy Shaders > Transparent > Cutout > Diffuse
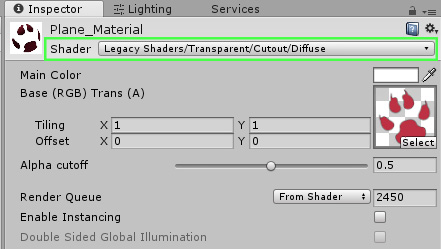
It really depends on which platform you want to use your Transparent texture, and for what you will use it. If you want to have specularity, normal maps use Standard Shader. If you want to have a simple color texture without any specularity and better performance, use Unlit > Transparent Cutout.
Thank you for stopping by! :)
If you want to support me, you can do that by subscribing to my YouTube channel or by buying my Game Assets. This helps me to create more content for you guys! Appreciate any support :)


